
Valentines Conversation Hearts Cake
Today is my BIRTHDAY and a 'conversation heart' cake is the perfect addition to anyone's event or Valentines Day celebration. It is a fantastic idea to have something out of the ordinary as the centerpiece at your next gathering. This project is quick, easy, and very affordable. I found the supplies at the Dollar Store and saved time by using a boxed cake mix. You can make any flavor cake from scratch if you wish, but this tutorial is done with a Devil's Food boxed cake, and pre made frosting.

Supplies:
2 Round Cake Pans (9 inch)
16 Small Boxes Sweet Conversation Hearts/ or Large Bag
1 Boxed Devil's Food Cake
-eggs as per box instructions
-oil per instructions
-water per instructions
1 Can Chocolate Frosting
Cooking Spray


Step 1:
Pre-heat oven. Spray non-stick cooking spray on your cake rounds. Mix batter and place in oven.
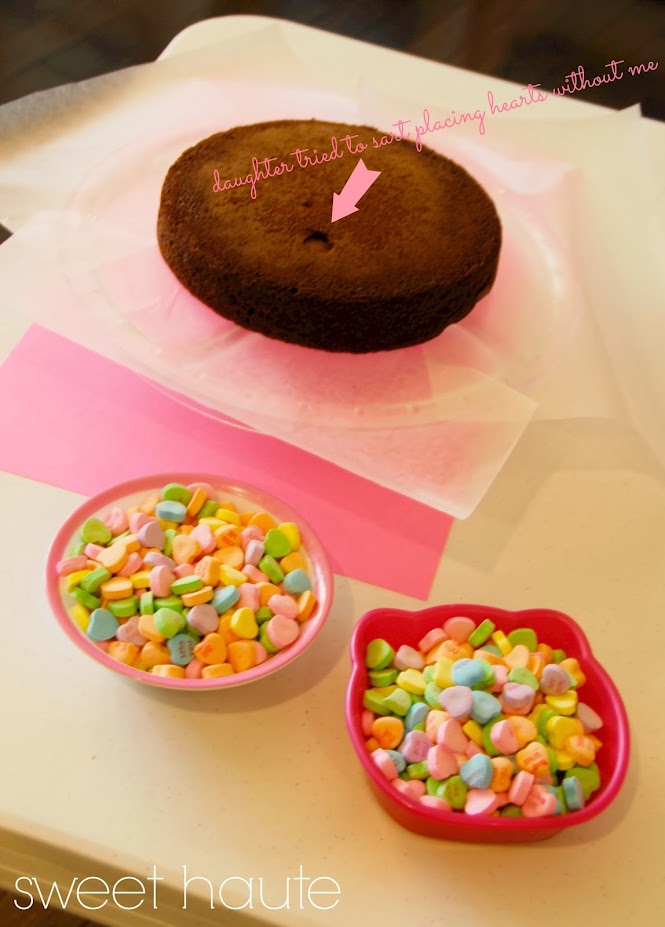
Once cakes are finished baking, set aside to cool COMPLETELY on a baking rack.
Step 2:
After cake has cooled, place wax paper or similar paper on edges of cake pedestal or serving dish and place first cake layer. Cut the cake's round edge off flat if needed, to be even and straight. Frost first layer lightly.
Step 3:
Next frost the second layer of cake lightly, as well as the edges all the way around. Save the majority of the frosting to use to mend the gap between the two layers. I still had plenty of frosting left over to use for touch ups and 'glue' for the candy hearts, if need be.

Step 4:
Remove the wax paper under the edges of the cake. Start placing first row of candy hearts starting from the bottom.

Step 5:
Pick a color pattern and emulate it throughout the entire cake. Stager the candy hearts in between each other as much as possible to get the most coverage. Do it as quickly as possible before the frosting drys out.


Step 6:
For the top of the cake repeat the same process, starting your row on the outer edge working in.


Sources:
Conversation Hearts- Dollar Tree
Glass Cake Dome- Target
Cake- grocery store
Frosting- cake isle grocery store
Hello Kitty Bowls- Target
I really hope you enjoyed this tutorial and let me know if you have questions or comments!!
Enjoy!!!!!


Enjoy!!!!!
You may be interested in:


~Be Sweet
Christina
Sweetest Haute
Please subscribe by email, subscribe YouTube, FOLLOW on Pinterest, Instagram, and Facebook
The cake is amazing!
ReplyDeleteHappy Birthday to YOU!!
Thank you so much, and for visiting!
DeleteIt's so pretty I wouldn't want to eat it and wreck it - well done!
ReplyDeleteThank you so much, and for the visit!
DeleteThat is too cute the little ones trying to help! It would be so stunning to walk into a party and see this cake!
ReplyDeleteI know right?! Thank you so much, and for the visit!
DeleteDarling Christina! Thank you for sharing over at Brag About It Link Party on VMG206.
ReplyDelete~ Megin of VMG206
Hi Megin, Thank you so much, and for the visit!
DeleteBeautiful! The kids would love decorating a cake like this - although it wouldn't look quite so perfect!
ReplyDeleteThank you so much, and for the visit!
DeleteVisiting from Link n Blogs @ put a bird on it - loved pinning your ideas! Bonnie @ Mom's Lifesavers
ReplyDeleteHi Bonnie,
DeleteThank you so much, and for the visit!
I love your cake! Happy Birthday!
ReplyDeleteHi Annie,
DeleteThank you so much, and for the visit!
Well, someone has a lot of time on her hands!! This is just adorable, but I don't think I would have the patience - and I would probably eat 1/2 of the candy before it go to the cake! Hope you Enjoyed your b-day
ReplyDeleteHi Patti,
DeleteThank you so much, and for the visit!
Nice Tutorial and Awesome cake! I found you on the Craft Dictator link up! Happy Valentine's Day! Michelle @ Mind of Meesh
ReplyDeleteHi Michelle,
DeleteThank you so much, and for the visit!
I love this! Super cute idea! :)
ReplyDeleteAmanda @ A Mother's Craftuition
Hi Amanda,
DeleteThank you so much, and for the visit!
Pam V H I don't know if the comment I just submitted went through. So, what a cute and easy cake you made!
ReplyDeleteHi Pam,
DeleteThank you so much, and for the visit!