
Stuffed Christmas Stockings
Need a cool project that will keep the kids busy while on Christmas break {we do}, something fast, fun, and wont break the bank? My kids love a project they can build and involves sweets...hmm :/
Well here is an excellent craft project you can make or get the children involved that is quick and easy, most of the supplies you can find around the house, and you can either keep or give as a gift. These are perfect little gifts for neighbors, teachers, and office exchanges. Purchase an inexpensive gift for inside the stocking, this can serve as a gift card holder, then get creative on the outside packaging wrap and make this Christmas gift really pop with pizazz and personality:)
Stuffed Christmas Stockings
No Sew....well it's pretend sew.
 You can either stuff the stocking with cotton balls or real goodies....or leave them empty...great either way and would be a kind gesture to give.
Well here is an excellent craft project you can make or get the children involved that is quick and easy, most of the supplies you can find around the house, and you can either keep or give as a gift. These are perfect little gifts for neighbors, teachers, and office exchanges. Purchase an inexpensive gift for inside the stocking, this can serve as a gift card holder, then get creative on the outside packaging wrap and make this Christmas gift really pop with pizazz and personality:)
Stuffed Christmas Stockings
No Sew....well it's pretend sew.
Supplies:
Red Paper
1 Bag Cotton Balls
-Batting {optional}
Ribbon
Yarn
Hole Puncher
Tape
Glue Stick / Adhesive
Hershey's Kisses Chocolates
Gift Tags
If needed-
Pencil
Scratch Paper
If needed-
Pencil
Scratch Paper

Step 1:
Trace your FREE stocking template or print one out from here...that I found that fantastic template FREE at Butter Cream Sewing Machine blog. You can use that template to actually sew a real stocking out of fabric next time...:)
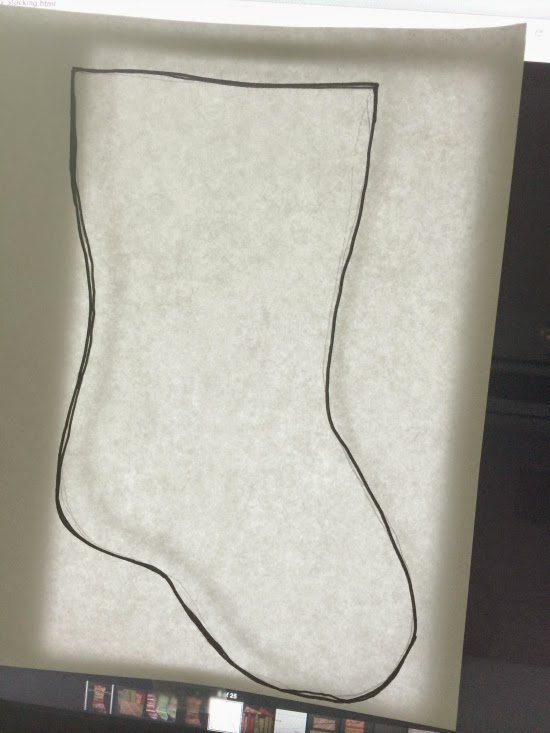
To save printer ink, I opened the template on the computer screen, maximized to full resolution, TAPED a piece of scrap paper to screen, then traced a few times with pencil....finally with black marker.

Step 2:
Trace onto colored paper and cut out.

Step 3:
Hold both stocking shapes, the front and back, together while you punch holes on the stocking edges.

Make more than one:)

The stocking also look just as adorable without the chocolate kisses...the cotton and yarn make the design so cute:)
The stocking also look just as adorable without the chocolate kisses...the cotton and yarn make the design so cute:)
Step 4:
Thread your fluffy yard to 'sew' your stocking edges together, leave and opening and stuff with cotton balls or batting. Attach ribbon loop on top.
Step 5:
Decorate. Attach a gift tag.
You might also be interested in:


I made one stocking red with a 'gold' toe and heel, and one with green and silver stripes.
I used small cotton balls on one and the other regular size cotton balls....the small one I think came out a little bit cuter than the large size....but get creative with it and have fun:)
You might also be interested in:
We really love our Christmas Ornament DIY Topiary project, we made it with over sized shatterproof ornaments and floral Styrofoam balls. Check out the tutorial... #makeit
Christmas DIY Placecard Pins

Holiday Cookie Spoons
Stuffed Christmas Stocking Craft

 Tart Pan DIY Dessert Stand {with goodies}


Delicious Christmas Gift Wrap
 Egg Nog Floats- Recipe
Holiday Cookie Spoons
Delicious Christmas Gift Wrap

Have a happy holiday season and enjoy!
Please leave a comment below:)
Please leave a comment below:)
~Be Sweet
Christina
Sweetest Haute
Please SUBSCRIBE, and follow along @SWEET HAUTE on Pinterest, YouTube, Facebook {new page}, Twitter, and Instagram.
Christina
Sweetest Haute
Please SUBSCRIBE, and follow along @SWEET HAUTE on Pinterest, YouTube, Facebook {new page}, Twitter, and Instagram.


