
The making of a Stone Tile/ Travertine backsplash Center Piece Frame over the stove.
Today I wanted to share with you this wonderful project that was easy to achieve with the proper supplies and tools. You can do it yourself and custom design your kitchen in a weekend!!

This is how this area looked before the frame was installed. It appeared 'nice' but to me it was still missing something....that finished 'wow' look. I was already in love with the aqua glass tile boarder and center piece, yet I was really hoping that a Travertine chair rail framing around that center glass tile square would complete this look.

Before frame...
Supplies:
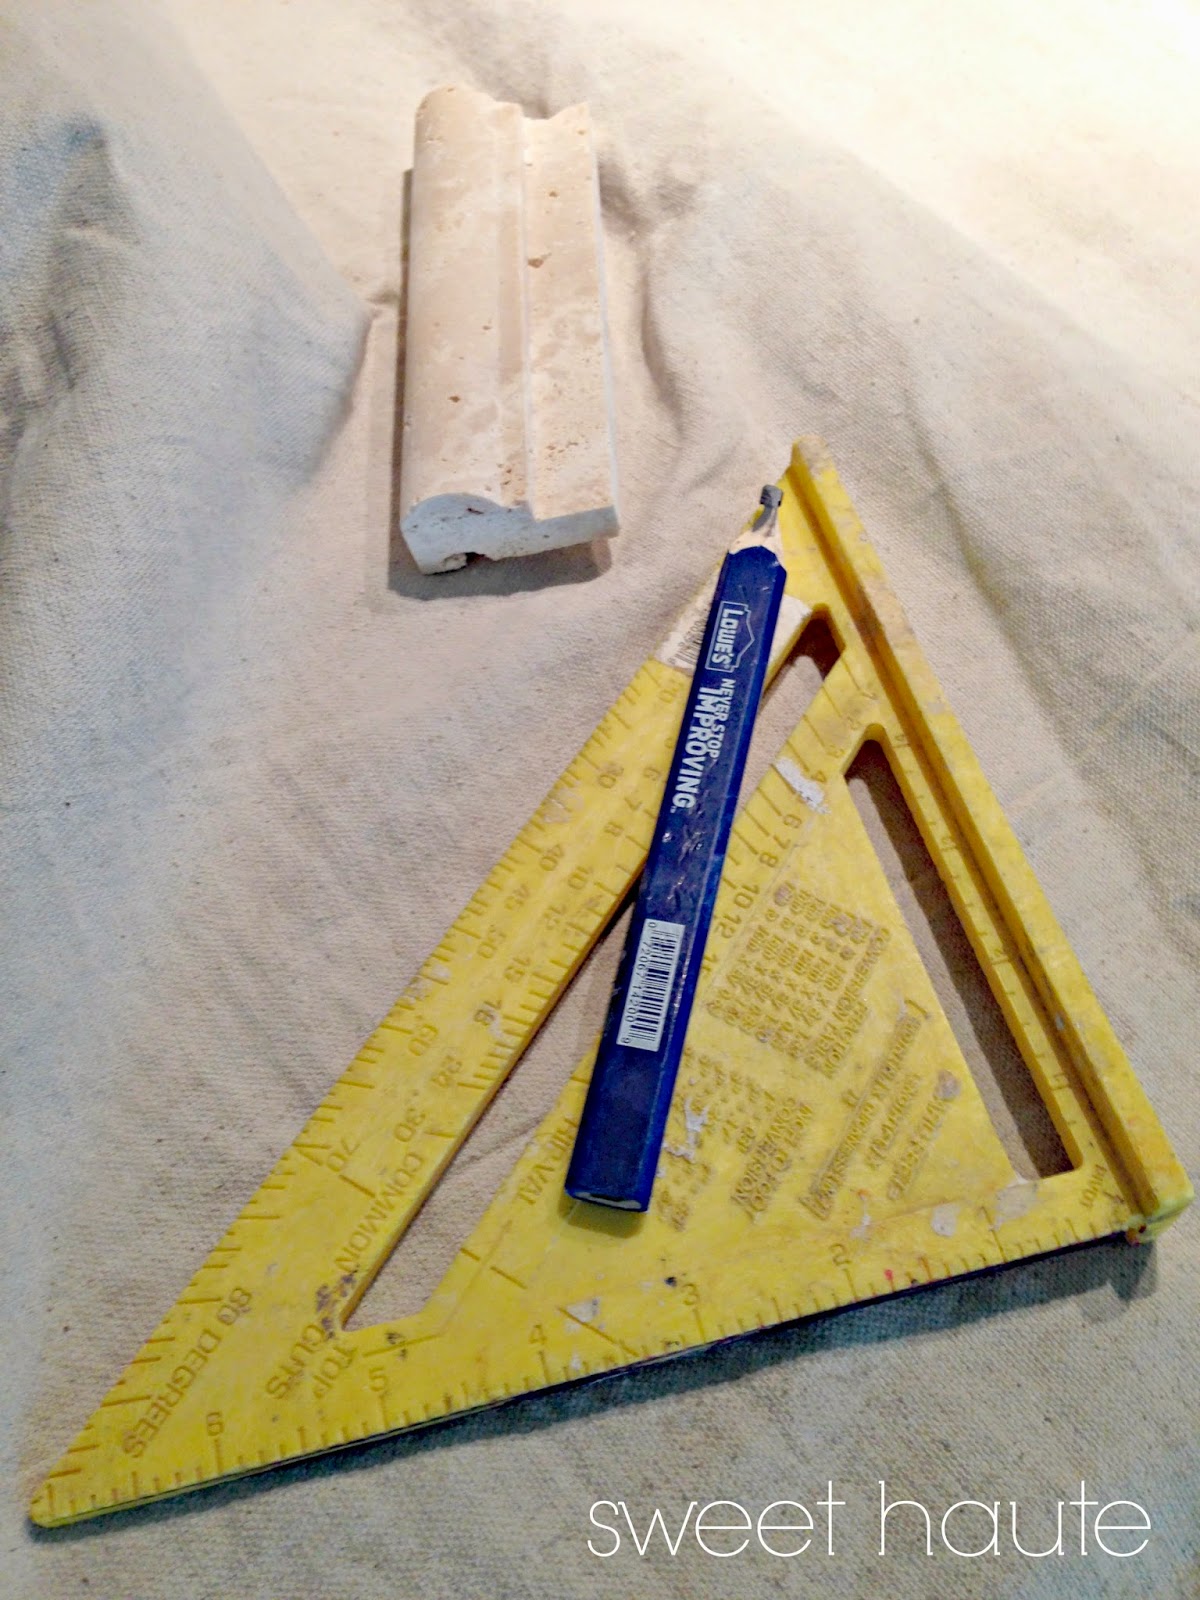
Tile Cutter- Wet machine/tool.
Stone Chair Rail Tile (border pieces)
Pencil
Tape Measure
Epoxy (used Latapoxy Part A, Part B)
-bowl
-applicator
Grout (color of your choice)
Drop Cloth
Angle Ruler
Level
Eye Protection
Gloves (if needed)


Step 1:
Figure out your plan and pattern. Cut your tile to the desired pattern and length of your frame.
Ours were cut into 10 pieces, to cover the length of glass tile edges AND to bring interest and style to the design of frame itself.
Be careful cutting tile, use the proper protection.

Step 2:
In VENTILATED AREA!
In VENTILATED AREA!
Mix your epoxy adhesive according to the instructions, you can use mask and goggles to protect yourself from the fumes.
Make sure working area is well ventilated.
Step 3:
Adhere your tile pieces onto the wall (tile backsplash), add some 'blue' painters tape for added support or something similar while it is setting up and drying. Follow instructions for your epoxy adhesive.
Step 4:

Also, I thought I took a picture but while the epoxy adhesive was curing, it had 'blue' painters tape on it to add support and keep it in place. But you get the idea...add some tape to assist it while it is setting up and drying.
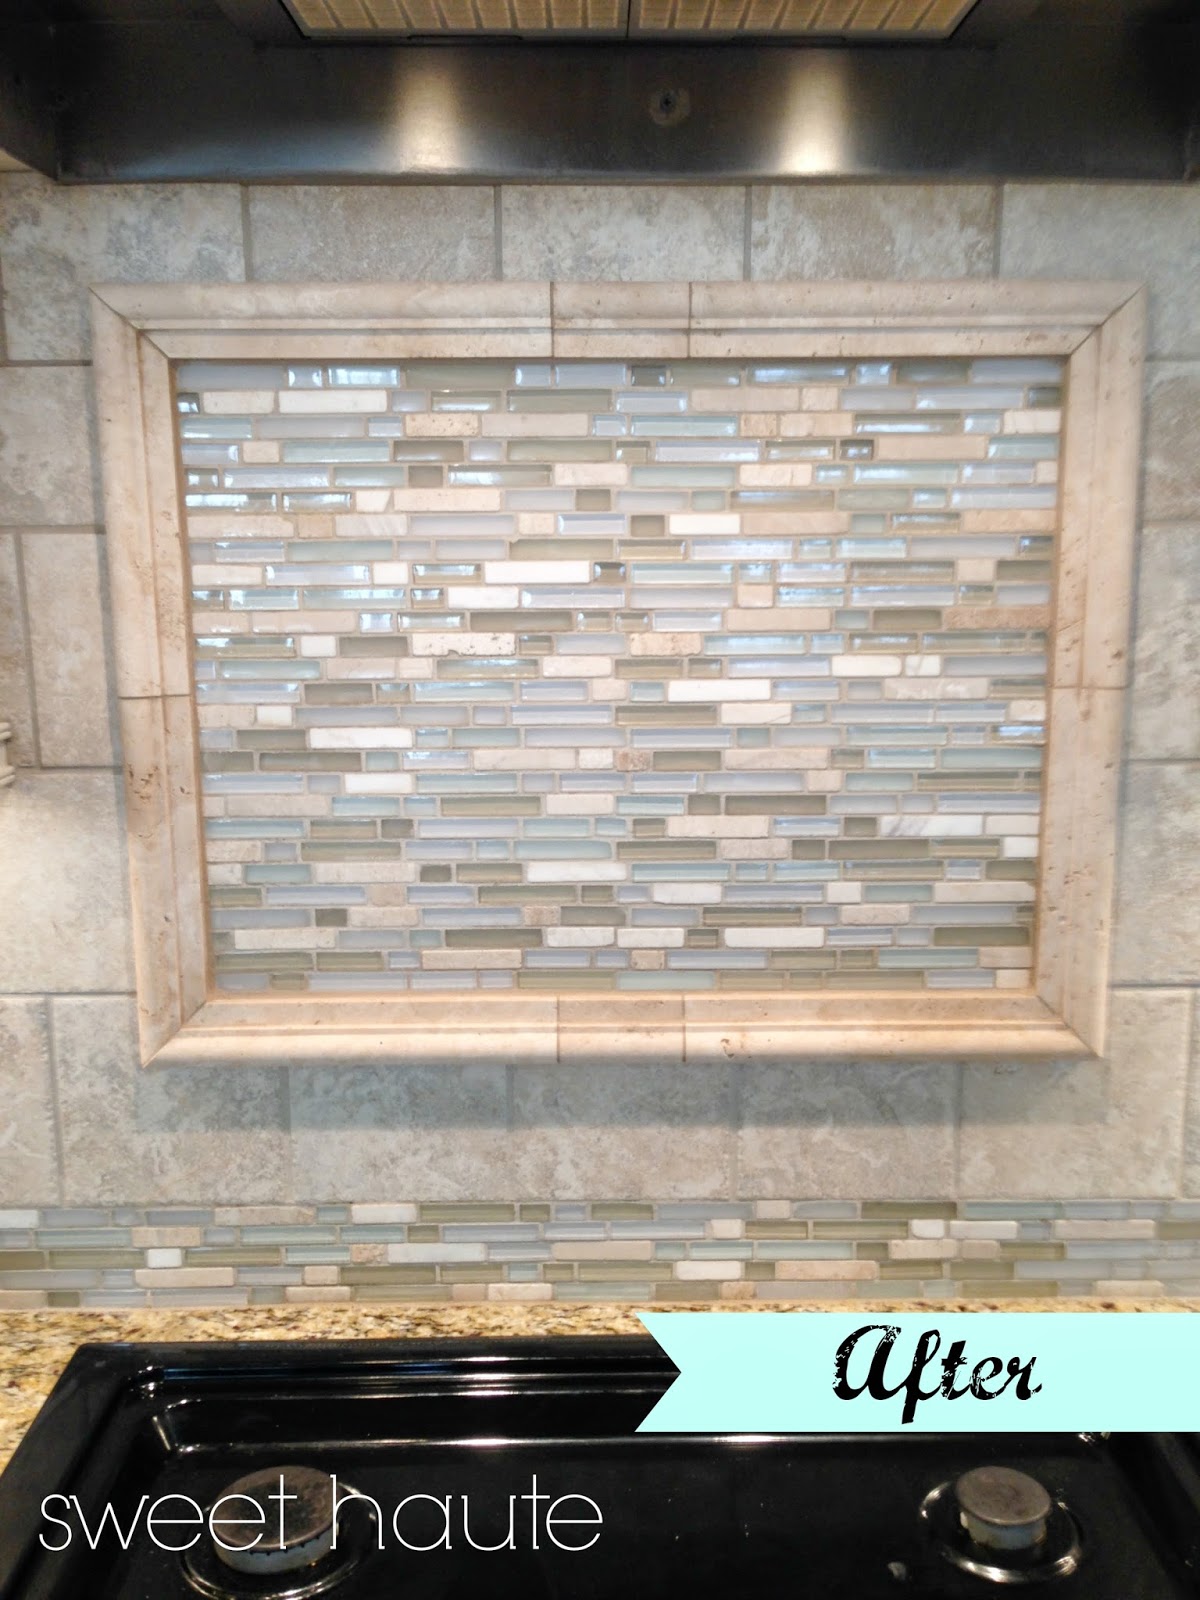
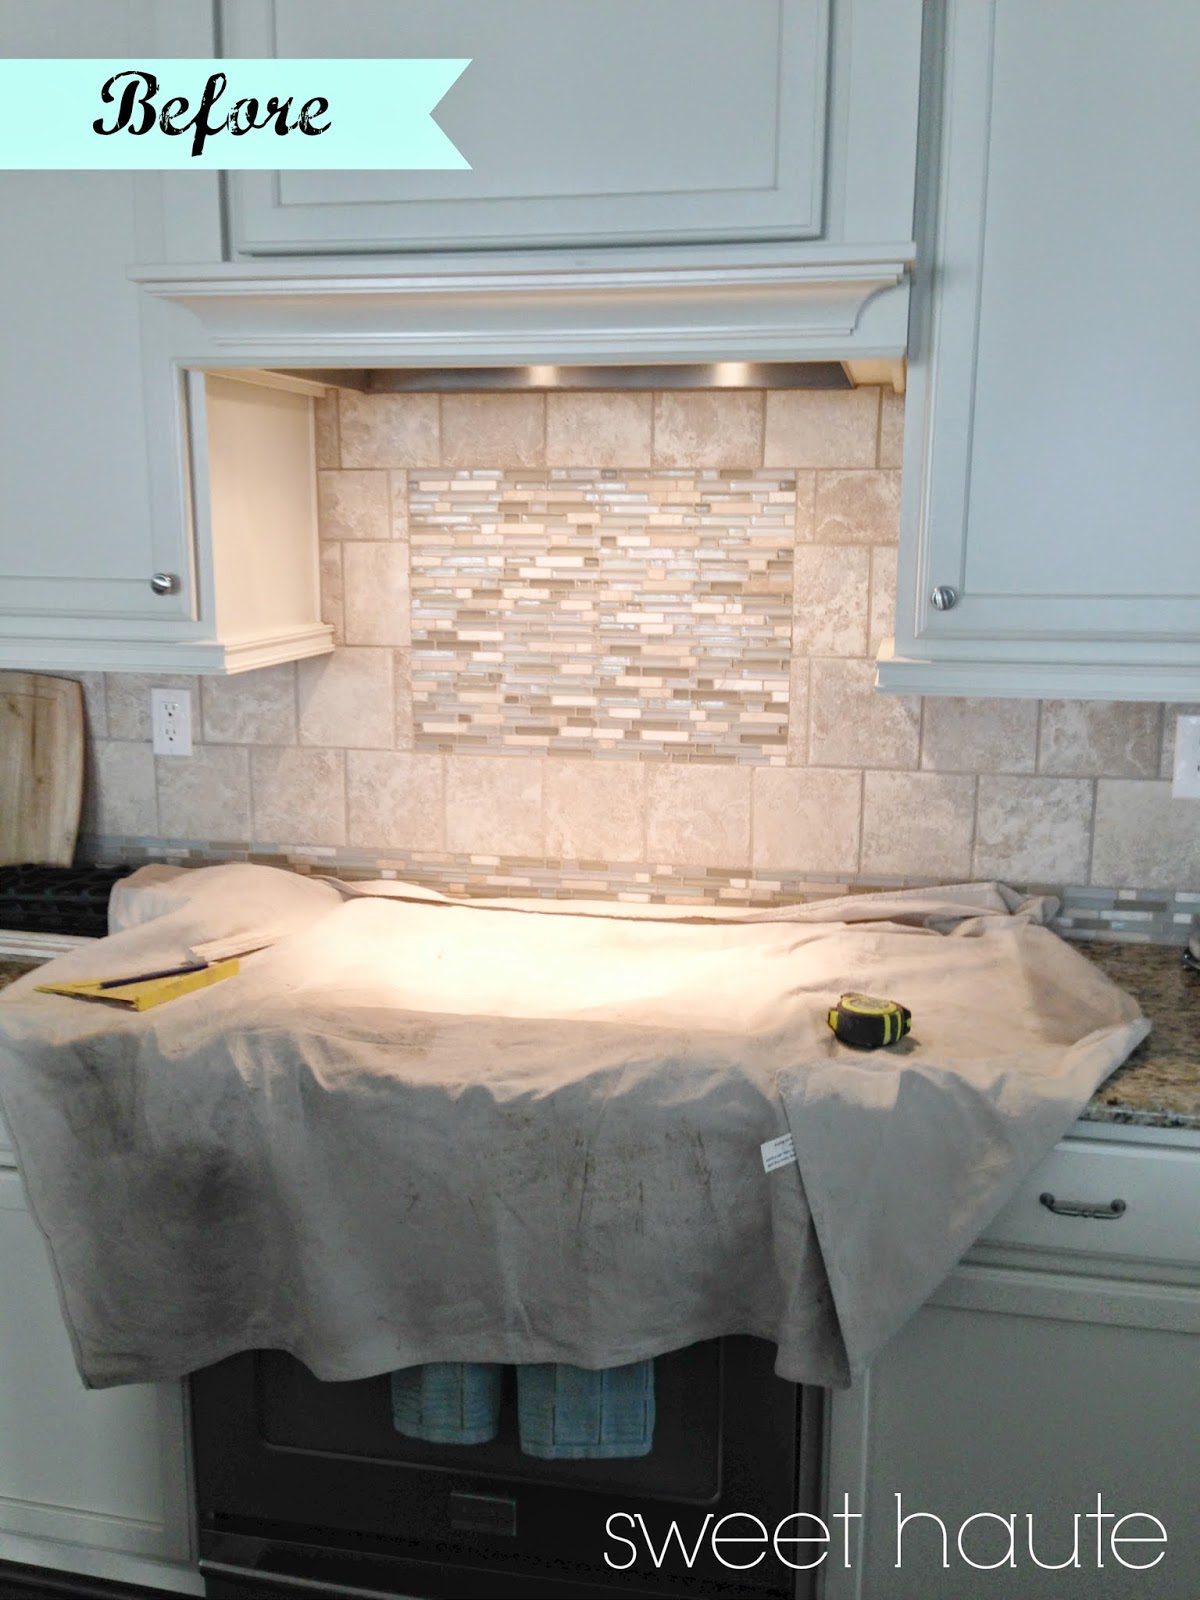
Here is a before and after picture to compare!
Hope you liked this post, please leave a comment or question and let me know if you have done similar projects in your home.
Enjoy!
~Be Sweet
Christina
Sweetest Haute
If you are not already....please Subscribe to this Blog, Like on FB, Follow on Pinterest, YouTube, and Instagram!!

No comments:
Post a Comment
Welcome to the SWEET HAUTE Blog! I recently switched back to Blogger after goDaddy managed WP deleted my database from 2015-on so most if not all current comments/ past posts are gone. Please leave a comment or ask a question below. If a post you are looking for isn't appearing, it is still on my YouTube channel. You can also email me, find out more in the 'About' section. Thanks!
~Be Sweet
Christina
Sweetest Haute