
Cornucopia Thanksgiving Party Favors
Today I wanted to share these darling and appropriate table setting decorations that also double as the guest's Thanksgiving party favors! How to make Cornucopia Thanksgiving Party Favors. We simply picked up a few inexpensive items at the store and used some tools we already had around the house. This a fast, budget friendly, and functional craft you can do with the kids to get ready for the big day!!!

Supplies:
Candy
Cellophane Bags
String/ Ribbon
Bakers String
Candy (goodies)

Step 1:
Fill a bowl up with hot water. Set up relatively close the the microwave so that you can immediately move on the step 2. Dip each cone in the hot water for 30 seconds, then drizzle a little bit (tad) of water into the bottom of each cone, using your finger tips. Be careful not to drizzle too much water into cone bottom.
Step 2:
Microwave each individual waffle cone for about 30 seconds, depending on your microwave.Adjust seconds until you can achieve the flexibility you need to bend the cones. For my microwave, I had to warm the waffle cone for 30 seconds, but the time will range from 20 seconds- 1 minute.

Step 3:
WARNING: Use caution, if kids are helping- an adult must do this step. Waffle cone WILL be extremely HOT! Immediately remove from microwave and curl the end of the waffle cone around tube shape to create the curved effect of the mini cornucopias. I used a corn on the cob skewer, yet any tube shape object can help create the shape. Hold until it cools enough to hold shape. Set aside to dry and cool.
Step 4:
Once waffle cones are cool, carefully stuff each cone with paper. Used soft paper towels, but if I did these again I would try to use a darker 'stuffing' so that the white didn't show through the candy....or use more candy.I didn't want to use more candy because I already knew we all would be candied out from Halloween, pies, ice cream, and various other desserts at the dinner party.

Step 5:
Add your candy or goodies. I used skittles, m & m's, and different color lemon heads. We already had the candy on hand from Halloween but you can get creative and add the candy corn, runts, or pumpkin shapes. I chose not to this time.
Step 6:
Cover with cellophane bags, cut to fit shape. You can find them at dollar tree, we already had these from other projects and parties. Tie with string or ribbon, I opted from string this time because it was rustic and matched my Thanksgiving decor.
You may also like:


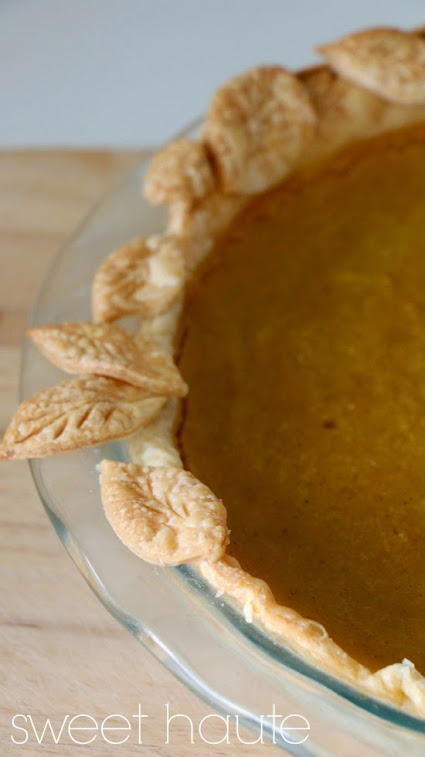
Pumpkin Pie Recipe from your decor Pumpkins


Enjoy! Leave a comment below...thanks for visiting.
~Be Sweet
Christina
Sweetest Haute
Thanks for sharing this great Thanksgiving idea! I am making these for sure to dress up my Thanksgiving table. Happy Thanksgiving to you and your family.
ReplyDeleteHugs, Gail
So cool! Pinned and tweeted. Lou Lou Girls
ReplyDelete