Tree/ Wood Slice Monogram Initial Chalkboard- Tutorial
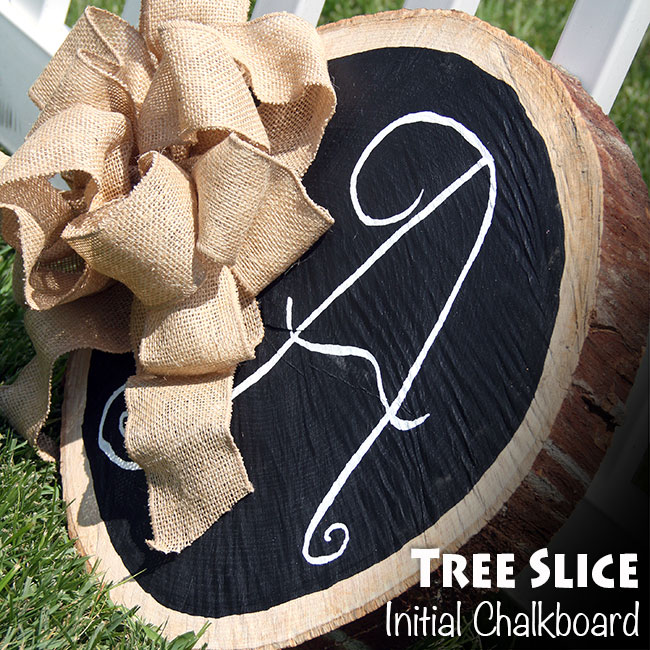
Visiting today is a very creatively inclined blogger....
Take it away Carrie.....!!!
Today I am sharing with you a project that I have had in my mind forever... I purchased this tree trunk slice from a local nursery for $5.00 last Spring! I had several ideas in my head on what to do with it... but, finally I decided I wanted to make it into a chalkboard sign! This was actually my first chalkboard paint craft ever, which it may be good to start out small... because, I really want to paint a wall in our kitchen (a small wall, it is one side of our pantry) with chalkboard paint!! Anyway, now that I have done this project... I want to go back to the nursery to see if I can buy a couple more tree trunk slices (is that what they are called?).
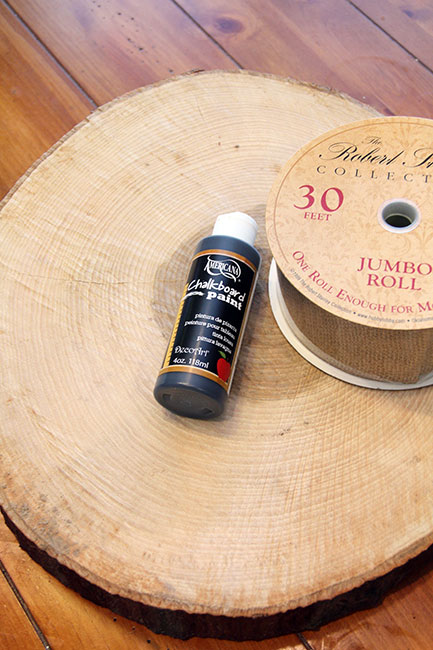
The supplies were minimal for this... tree trunk slice, chalkboard paint (Hobby Lobby in the tempera paint section) and burlap ribbon (with the wire on the edges, so you can bend/shape/mold it).
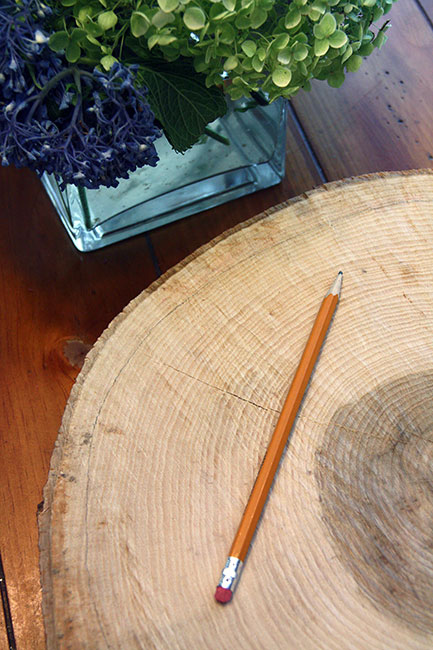
With a pencil, trace a ring around the tree trunk slice, so you can use it as a guide when you start painting it.
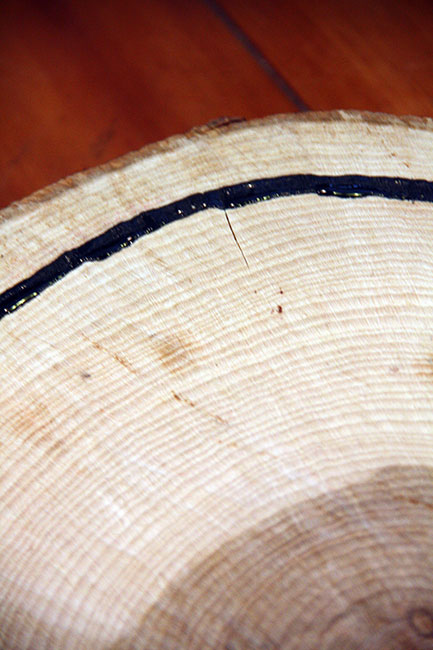
Outline the pencil with a fine brush with the chalkboard paint.
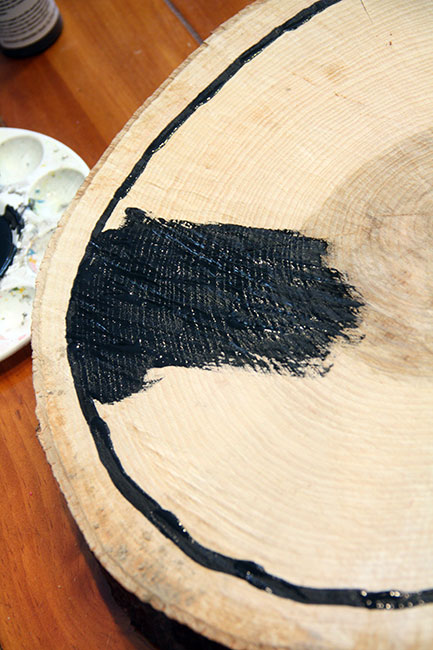
Use a thicker brush to paint horizontally. Let dry for 24 hours.
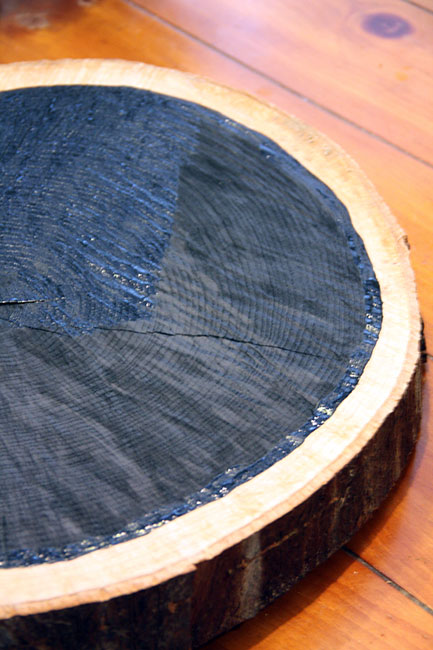
Paint vertically. Let dry for 24 hours. (These were the exact directions on the bottle.)
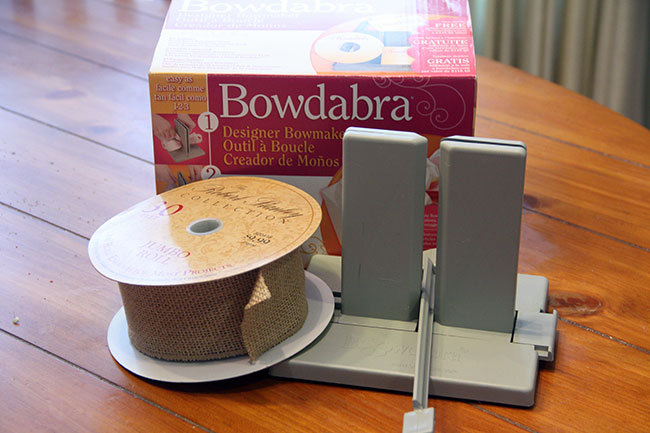
If you follow along on my blog, you know I do not make a bow without my fancy schnancy Bowdabra bow maker.
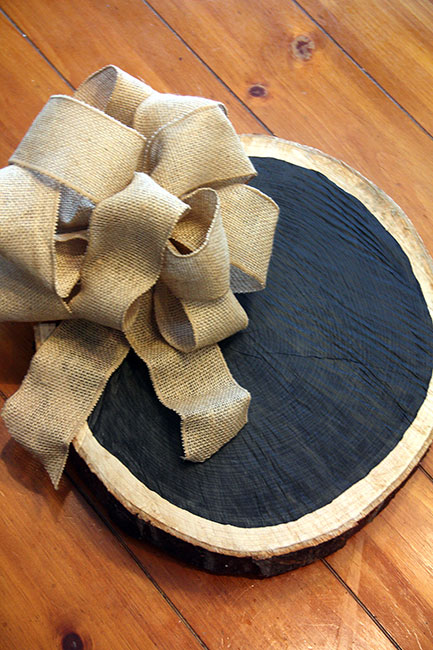
I made a burlap bow with 5 loops on each side, then I hot glued it to the tree trunk slice AFTER I finished drawing the initial on it with the chalk.
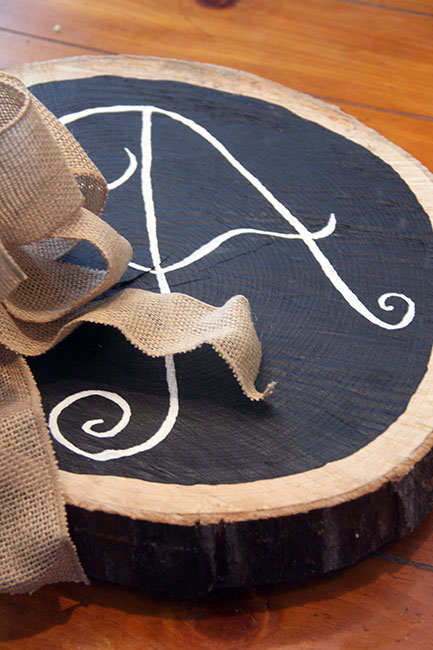
Draw your initial, I drew it in pencil first... then I drew over it with my chalk pen.
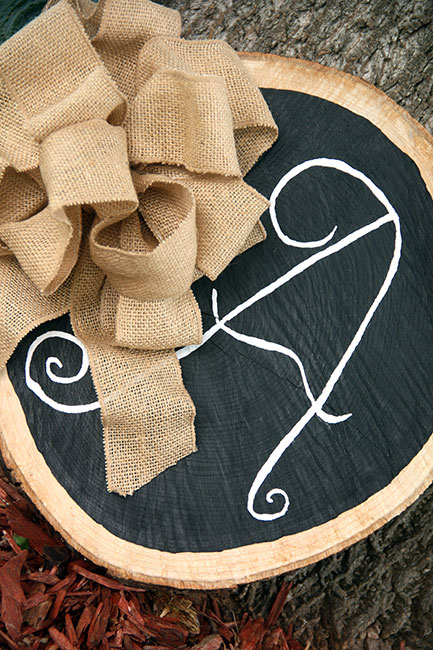
I'm not exactly sure where I will display this yet... but, I took it out back for some photos in the sunlight! I am thinking I will either place it on our front porch against our 2-seater bench or in the living room against our faux tree.
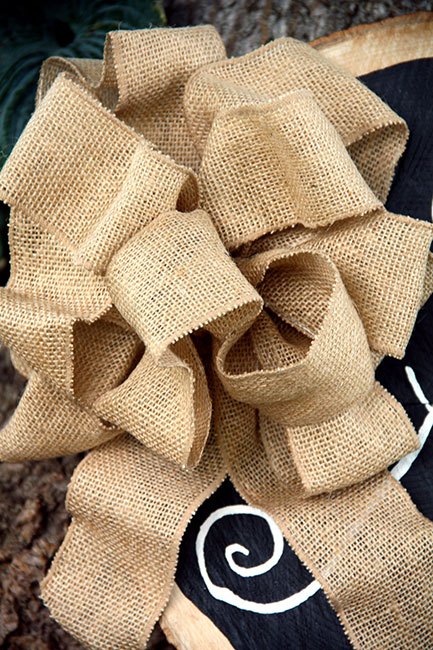
Isn't the bow on this fabulous? You really can't beat the Bowdabra... they even make a mini Bowdabra.
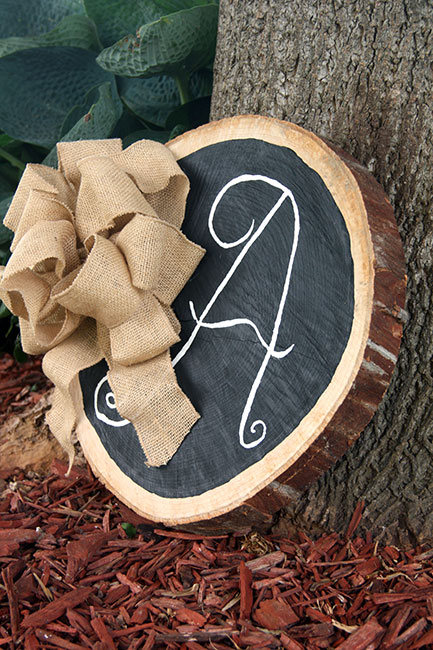
This tree trunk slice is pretty sturdy, it was cut thick and it is not light! I am really hoping the nursery still has some that I can buy... I am thinking a table topper next... or a plant base.
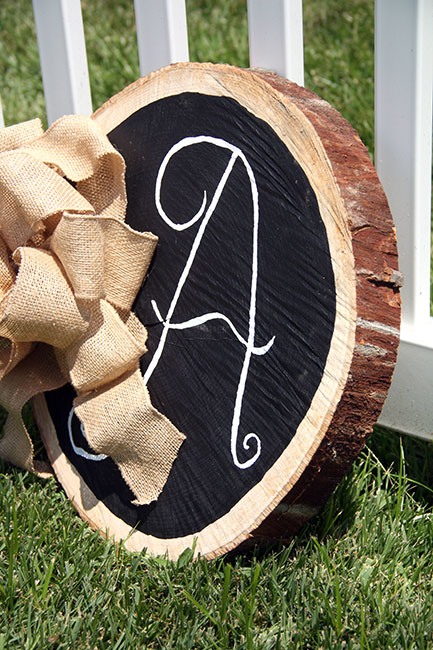
I was thinking it would be fun to change up the bow on this for some of the seasons, I could use orange burlap for Halloween or red for Christmas... then, I could write a holiday themed quote on the chalkboard.
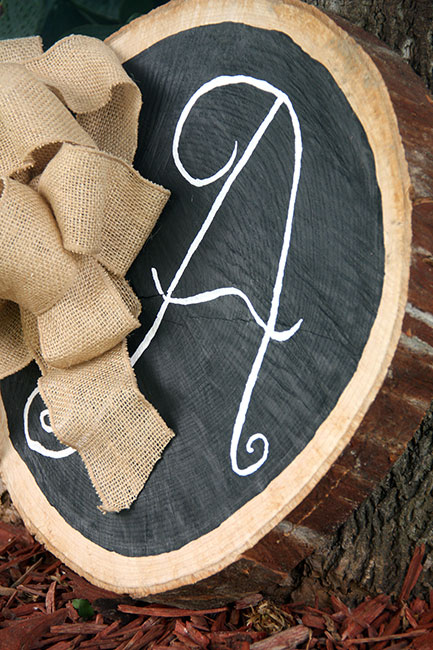
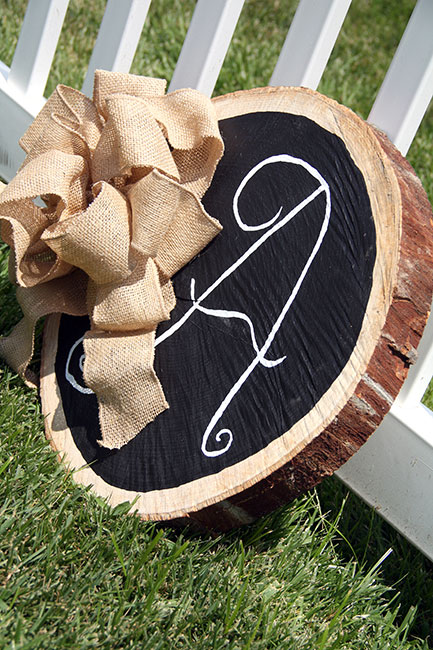
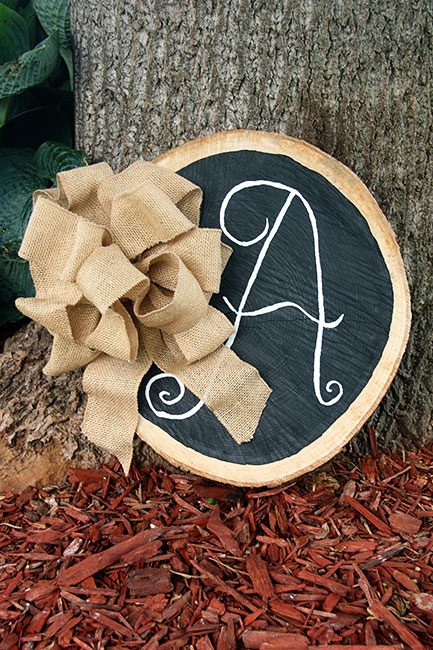
Just a few more photos for your viewing pleasure
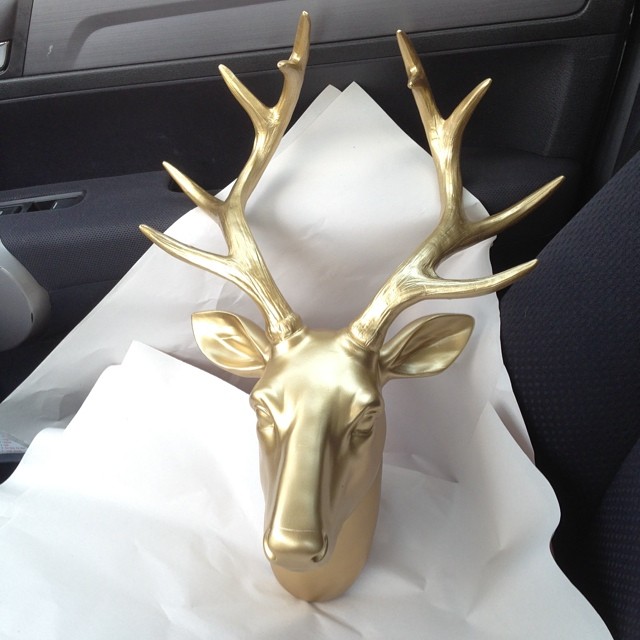
So, today I decided to go into Hobby Lobby for this SPECIFIC item. I saw someone post a photo on IG and I knew I had to have the gold stag! Brian just shook his head... but, he just doesn't understand how long I have been looking for one of these. Thank goodness it was 50% off, because it was $60 full price... GULP. Now, I need to start planning where I am going to put this beauty!
Thank you, that inspirational tutorial about DIY decor and chalkboard...(what more does a girl want) from Curly Crafty Mom blog. Some of my favorite posts by her are:

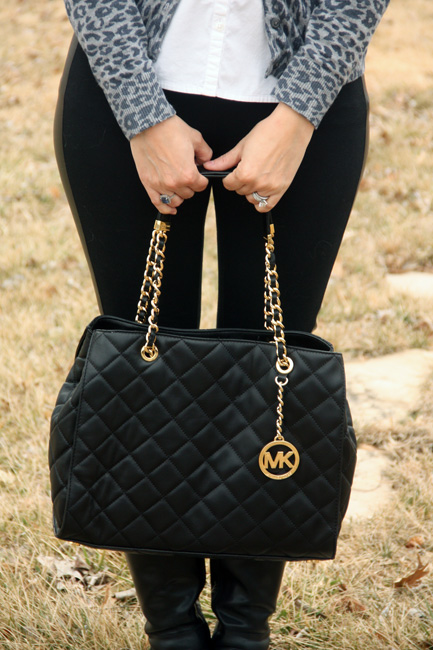
Be sure and stop by and visit her blog, leave a comment to let your know you were visiting and you found her on SWEET HAUTE. Stay tuned for more tutorials to come...
Enjoy!
~Be Sweet
Christina
Sweetest Haute
Please subscribe and follow @SWEETHAUTE on Pinterest, Instagram, YouTube, and FB (new page) and Twitter!
Visit SWEET HAUTE's profile on Pinterest.
Enjoy!
~Be Sweet
Christina
Sweetest Haute
Please subscribe and follow @SWEETHAUTE on Pinterest, Instagram, YouTube, and FB (new page) and Twitter!
Visit SWEET HAUTE's profile on Pinterest.


Stopping by from Hit Me With Your Best Shot. This would be great for the Rustic Bridal Shower I doing for a friend. Thanks for sharing!
ReplyDeleteThanks for having me once again!
ReplyDelete