DIY Outdoor Organization: Recycle Bins
DIY Outdoor Organization and Storage Aluminum Trash.... turned Recycle BinsOrganizing and DIYing our home is always on my mind...no matter the season!
Check out this fun and fast tutorial!
Here is an inexpensive DIY organization project that you can accomplish in about 15-20 minutes, depending on how quickly you can place the painters tape and/or if you have help. If you decide to create this DIY project on your own you will need about 30-40 minutes start to finish. These aluminum trash cans can be used for various purposes other than trash disposal. I also like these smaller size lid bucket /cans combo too, maybe for a future project!
Supplies:
Sharpie Marker
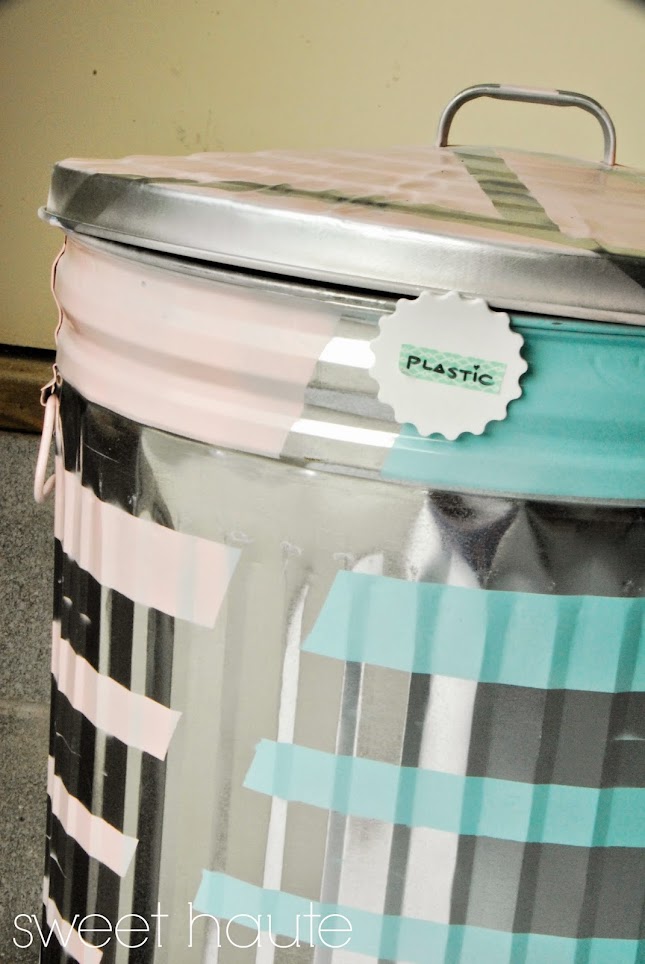
When I saw these gems at the home improvement store I figured I would make them into either sports /ball equipment storage, recycling bins, garden supply, or pet food storage. We needed all of these storage solutions in our garage but I ended up using it toward our going green effort...recycling and for our 'unplugged' effort....which is outdoor play/ball equipment to keep the children entertained outside instead of inside with something that involves a plug.
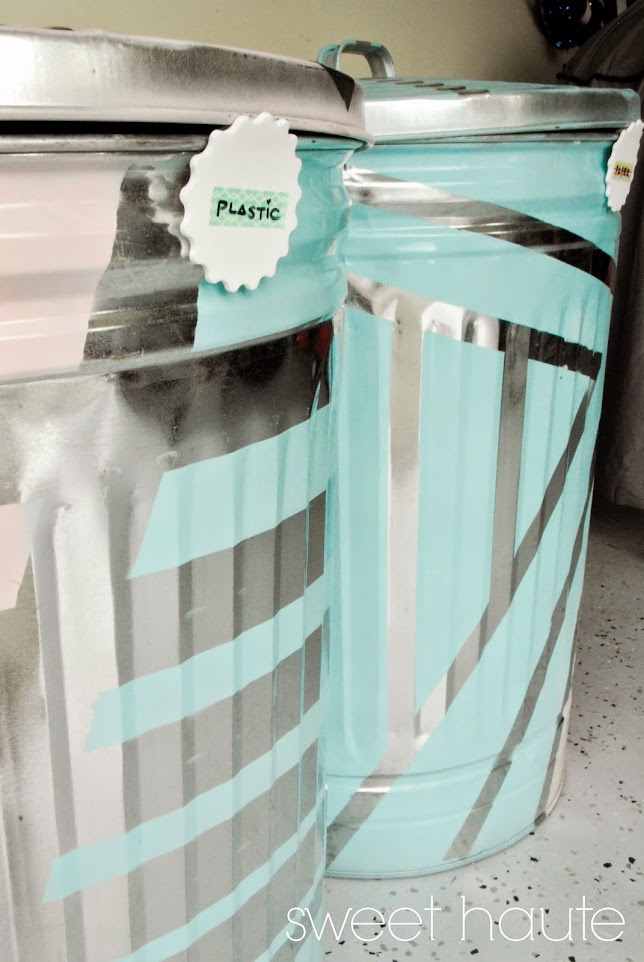
Place your painters tape, spray the paint, remove tape.....repeat!
Place your painters tape, spray the paint, remove tape.....repeat!
{Paper} label!
I used washi tape and a sharpie marker on some labels I found, didn't they come out so cute!!?!
{Plastic} label!
Washi tape is so fun and versatile...
Use these babies to help you get organized and green for this Fall, Winter, Spring, or Summer!!!
These recycle/ storage bins do not have to be perfect, have fun with this project and if you make any mistake with the spray paint it's fine since it will give it that rustic effect....outdoor look.
So round up your aluminum garbage bins, painters tape, and colors of choice and get started!!
Enjoy!
Please let me know you stopped by and leave a comment below, thanks!!!
I used washi tape and a sharpie marker on some labels I found, didn't they come out so cute!!?!
{Plastic} label!
Washi tape is so fun and versatile...
Use these babies to help you get organized and green for this Fall, Winter, Spring, or Summer!!!
These recycle/ storage bins do not have to be perfect, have fun with this project and if you make any mistake with the spray paint it's fine since it will give it that rustic effect....outdoor look.
So round up your aluminum garbage bins, painters tape, and colors of choice and get started!!
Source list:
Trash Bins- Lowe's $24 each
Krylon Spray Paint- $5.96 each
Painters Tape- Lowe's
Enjoy!
Please let me know you stopped by and leave a comment below, thanks!!!
~Be Sweet
Visit SWEET HAUTE's profile on Pinterest.
Christina
Sweetest Haute
Subscribe to blog, follow on Pinterest, YouTube, Facebook {new page}, and Instagram!
Visit SWEET HAUTE's profile on Pinterest.


These are great! Love the color combos!
ReplyDeleteThank you, can you tell they are my favorite lol;)
DeleteThese are great! What a unique idea!
ReplyDeletethanks, thank you for visiting!
DeleteThanks for linking to Create Link Inspire at The Crafty Blog Stalker. You have been featured and pinned! Thank you for sharing.
ReplyDelete–Katie, TheCraftyBlogStalker.com
thanks Katie for visiting!
Deleteprettiest trash cans i ever did see!
ReplyDeleteb
thank you B for visiting, have a great day!
DeleteI like those metallic cans, even though they looked plain at first. But the way you coated and customized them are amazing! I love the color combination – it’s simple, but pretty sweet. Thank you for sharing this lovely tutorial with us, Christina. All the best!
ReplyDeleteBernice Parsons @ Badger Anodising
thank you for visiting Bernice
Delete